Showing posts with label The Sparkly Shop!. Show all posts

Wednesday, January 14, 2015

GUYS GUYS GUYS I OPENED A SHOP!!

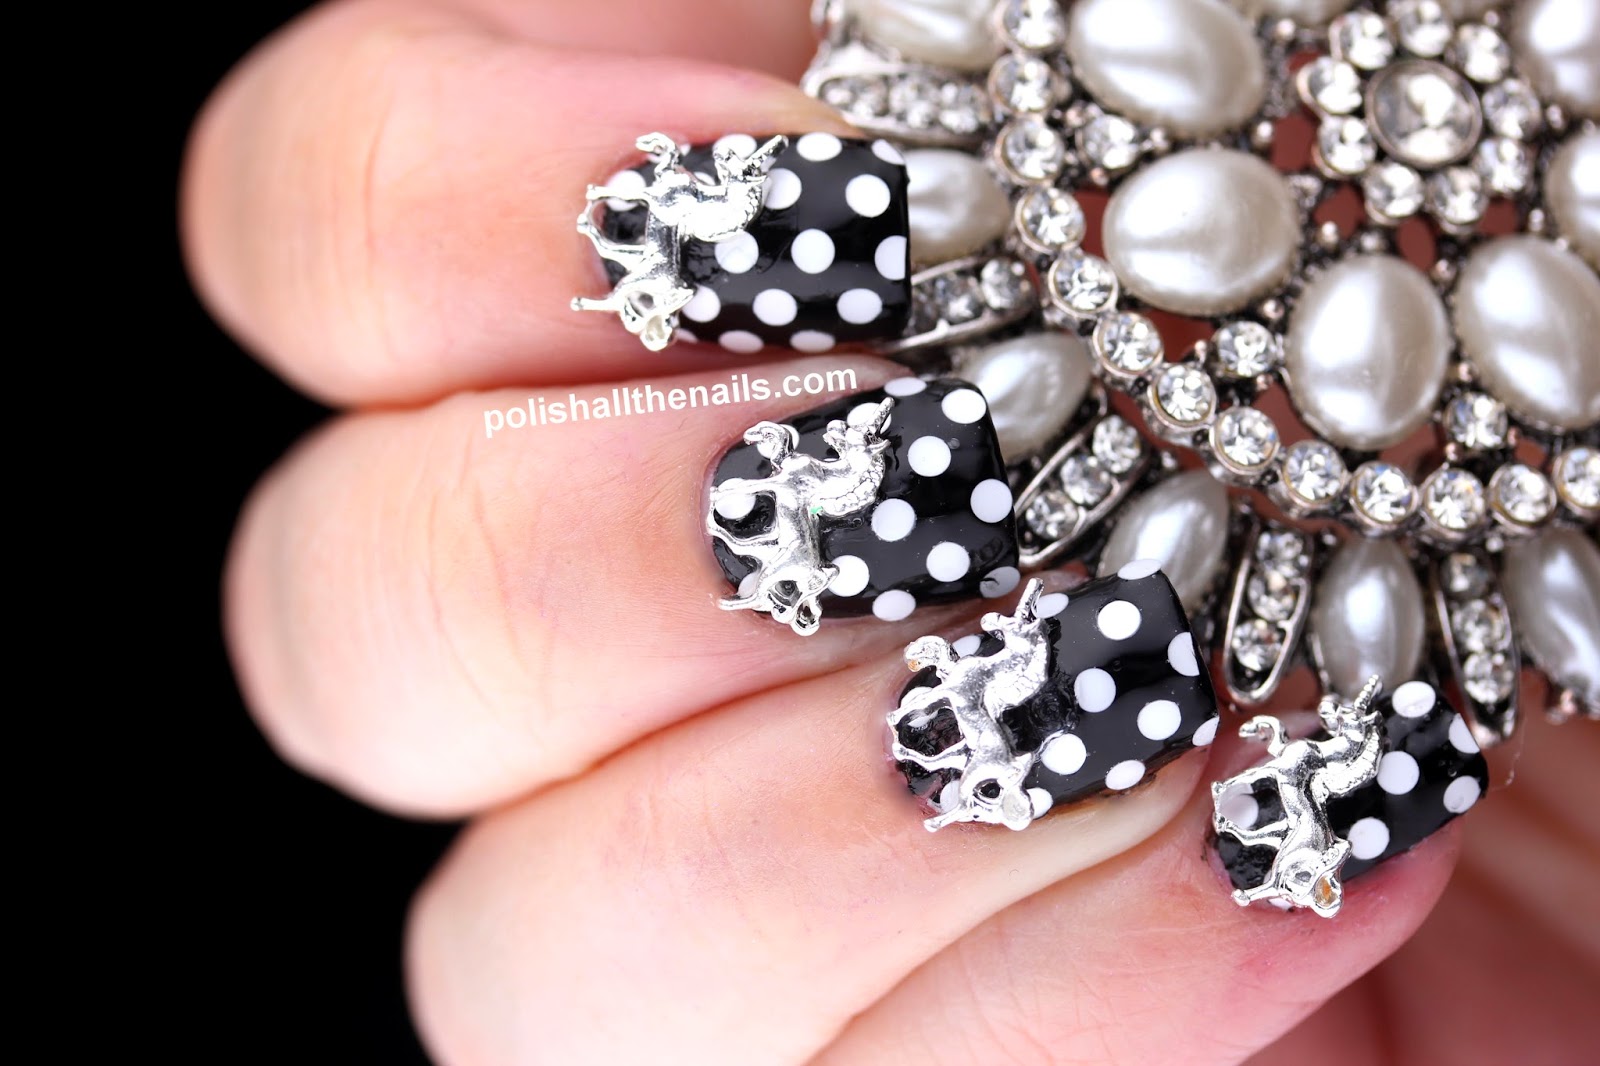
GUYS GUYS GUYS LOOK I DID A THING!  I've been light on the blogging lately because I've been working really hard on a totally new thing: THE SPARKLY SHOP!! I've been incredibly obsessed with nail charms lately and kinda got carried away buying them to the point where I realised I could totally sell them.  I wanted to show you some of my favourites here, and to let you know you can get 15% of any charms if you use the discount code BLOGGYPANTS.  OMG SO EXCITING YOU GUYS.


 First up, we have the magnificent bicycle charms!  Enamel, rhinestones and gold for bike complete with a basket and pedals.  I nearly died.

 Next, Zebras!  The teeniest little guys, all stripy and whatnot. You know you want a safari on your nails.

 These are not holographic as I'm sure they've been described as before, but in fact multichrome rainbow cubes!  Yeah.  And pearls.  And sparklies.

It's ok if you aren't into safaris, what about the magical ocean?  Yeah, you want whales with bows on. 

These daisy charms are awesome for when you can't be bothered doing fancy nails, but you want fancy nails.  Stick one of these on and instant fancy. 

 These bear absolutely no reference to a coffee shop chain and any resemblance is just a coincidence.  Yay for Coffee Shop Mermaids!

I don't think there's ever been a time in my life where I've said, no, I don't think having unicorns on my nails would make my day better.  Shinnnnnyyyy unicorns!

 Do you know how cute it is to have teeny lizards on your nails?  VERY CUTE.  Especially if you draw little footprints on your nails behind the charms and pretend they're hitching a ride.

Last but not least, Princesses Sally and Sarah Octopus, friends with the whale twins.  Look at their crowns! eeeeee.

The Verdict: OBVIOUSLY I'm biased here but I'm so happy with how the shop turned out.  I've been wanting to do something on the internet for such a long time and here we are.  Sparklies for everyone!!!!!!  Especially with a discount code of BLOGGYPANTS!

I also want to really really thank Chantelle.  She's my business partner in the Sparkly Shop and without her incredible organisational and packing skills, this totally wouldn't have happened.  I <3 you Chantelle!

Retro 70's Watermarble Nails with Sparkly Lizards!

No matter how many times it kicks me in the face, I can't give up on watermarbling.  It works just often enough that I blame myself for any errors and my faith in it working one day lives on.  I got it to work though the other day and to celebrate I slapped on teeny sparkly lizards.  Only the best celebrations for me!


To start, I applied two coats of that pale yellow pastel from the recent Maybelline Color Show line.  If I were a good blogger I would list the color here but I can't remember so if you know that would great, etc.  Once dry, I taped off all my nails and got to work with China Glaze Liquid Leather and four of the other Color Show pastels.  There are many videos out there on watermarbling done by people much more talented than me, so if you're curious, go look.  Once done, I cleaned up, applied my coat of Seche Vite and used my Nailene Brush-On Nail Glue to stick my Sparkly Shop Gold Rhinestone Lizards on.  LOOK HOW CUTE THESE GUYS ARE.  I LOVE THEM SO MUCH.  I'm not just biased cos I co-run the shop, they are that cute. 


The Verdict: Love my unexpectedly retro watermarble, love my lizards more.  Yay for sparkly lizards!

Minimalist Carmen Miranda Nails!

I don't have quite the same volume of time free to do my nails I used to, because I now have to commute 20 whole minutes to get to work and I keep falling asleep at crazy early times.  This usually results in me slapping on the nearest polish I can get away with two coats of and then accenting with as many charms I fancy at the time.  Charms are the best for making your nails fancy with no effort what-so-ever.  Yesterday I felt like wearing smiley-face charms with pineapples on top.  It took stablenails on Instagram pointing it out that I'd inadvertently created minimalist Carmen Miranda nails.  THIS PLEASES ME, THANK YOU STABLENAILS. 

To start, I applied three coats of Sephora Formula X Equinox, a really pretty foily purple duochrome polish.  I know I said two but this really does look better with three.  After sealing said coats off with Seche Vite, I used nail glue to apply my Sparkly Shop Smiley Face and Pineapple charms.   I love these charms so much, like, LOOK AT THEM.  Especially the pineapples. They're small and flat so they even stay on well, if you're not the type for giant King Cobras.  I wear those cobras so much, they make me feel badass.  Anyway, minimalist Carmen Miranda nails!  Woo!


The Verdict:  Sure, I'm biased with these charms cos I chose them in the first place but LOOK AT THEM.  I can't believe I didn't notice what the combo looked like too.  Woo for crazy charms!

DON'T FORGET, IF YOU WANT 15% OFF AT THE SPARKLY SHOP, USE THE CODE BLOGGYPANTS.  I WANT EVERYONE TO HAVE CHARMS AND SPARKLIES.  Totally not for money, I swear.

Sunny Ocean Mermaid Nails!

GLITTTTTTTTTTTTTTTTTTTTTTTTTTTTTTTTAAAAAAAAAAAAAARRRRRRRRRRRRRRRR.  I'm Australian so it's still aaaaaaar.  It's been a while since I've done a good mermaid glitter placement so I did that.  Some of the macro photos show why it's not the best idea to try to do glitter placements when you're tired cos they go a bit wonky but over, sparkly.  So the question I get asked the most is where I get my glitter from.   WELLLLL on Friday you can get some from me.  At The Sparkly Shop.  In very limited quantities because I may be a glitter hoarder but I'm not that much of a glitter hoarder.  Also charms.  Anyway, on to the pics!

Usually dealio here.  I started with two coats of Revlon Carioca Crush.  It was physically impossible for me to not buy this polish, it's that good of a blue.  Sure, navy might have worked better in this mani but I can live with it.  Then, doing my usual technique - of which you can see a video here - I applied my four colours of glitter - blue, tea, lime and gold.  This is the single hardest part about glitter placements - finding colours that will go nice together in a gradient.  Two coats of Seche Vite and you're done.


I have a few gaps in my glitter and I set my aperture too low so my depth of field is too shallow but otherwise it's sparkly and that's pleasing to me.  I love being a mermaid doing my mermaid things like doing mermaid programming at my mermaid job.  That has a lot of penises.

Yeah so about the shop thing, if all goes to plan, I'll have three different glitter sets up for sale on The Sparkly Shop on Friday.  I swear I don't mind either way but if you want find out exactly when and what will be going up you can have a look at our newsletter.  I solemnly swear on my polish collection I will never do anything with your information other than send you sparklies.  

Turns out Unicorn Charms Go With EVERYTHING INCLUDING DOTS

So I conceptually get dotting tools.  They're a good idea and some people have done amazing things with them but I just can't get a satisfactory result of them.  The dots are  never completely even.   That's usually when I say screw it and use glitter.  I LOVE YOU AND YOUR CONSISTENCY GLITTER.  Especially circle glitter.  And unicorns always make things better.  


To start I did the usual two coats of China Glaze Liquid Leather and went to town with my Essence top coat to get the white dots on.  It's easiest if you do a row down the middle of your nail first as this will set the spacing for the rest of the nail.  Just keep the distance consistent for the next column.  You can use a small pair of scissors to trim any excess off the tips of your nails.  Once dry, use a bunch of nail glue to stick your unicorns from The Sparkly Shop on.  Yay unicorns!


The Verdict: I like the look of glitter so much more than that of dotting tools.  Even takes about the same amount of time, believe it or not.  And these unicorns go with EVERYTHING.

Ohhh yeah and also, you can finally get the same glitter I use for all these manis!  I have glitter sets for sale now at The Sparkly Shop.  And unicorns too!  Use the code BLOGGYPANTS to even get 16% your order!  Sorry to be pushy but you are helping a mother at home with her baby and me, who loves sparklies.  Sparklies!


Pink Mega-Sparkly Nails!

It's hardly a secret how much I love sparklies.  If it were at all practical, I would make my middle name Sparkly.  Laura Sparkly Tucker.  That does have a nice ring to it.  Anyway, this adoration of all the sparklies means just about my favourite thing ever is dazzle glitter.  It's like a bunch of tiny pieces of glitter were smushed together into a larger piece.  And oh, so sparklies.  I've done red and silver manis using this glitter before so that's the perfect excuse to use the pink.  That makes sense, right? 

For once, I actually have a video to show you how to do this.  It's exactly the same process here.  I started with a similar base polish - in this case the gorgeous Sephora Formula X Fine like Einstein - and applied two coats.  When using dazzle glitter, it helps to have a holo base in a similar tone. Means you don't have to spend as much time filling in the spaces around your cuticles because the gaps just don't show that much.  I then applied my usual line of glitter down the middle of my nail, filled out each size and trimmed any excess glitter off the ends of my nails.  Two coats of Seche Vite is good here too. 


The Verdict:  Well, this is awesomely sparkly and dazzly and of course I love it.  The base polish did its job, it didn't even really show when I lost a few pieces of the ends of my nails over the course of the day.  

You can find this glitter in a set with three other colours over at The Sparkly Shop.  I totally wouldn't hate it if you just had a look, sorry!

Neon Tribal Triangle Glitter Nails!

Can I just first up how grateful I am to everyone being so supportive of The Sparkly Shop?  We've just passed our first monthaversary and it's just been amazing.  So thank you!  The triangle glitter sets though, hot damn.  I had a feeling they might be popular just because you don't see it very often but the orders have been ridiculous!  Since I did a full coverage one the other day, I thought I'd show you something you can do with it that doesn't take quite as much time. 

To start, I applied three coats of China Glaze Japanese Koi, a brilliant neon orange.  Like, offensively orange.  That's just how I roll.  Then, taking glitter from the Glamourous Gorgeous Glitter and Sunny Fun in the Summer Sun,  I created my tribal/aztec pattern.  Using a slow-drying top coat - any will do - I started in the middle at the bottom of each nail and just kind organically built my pattern out.  The black, white, silver and yellow glitter all mix really nicely so any pattern is sure to look awesome.  Making that line down the middle of your nail does help though.  Seal it with top coat and you're done.


The Verdict: I loved this combo so much and it's so much easier than trying to paint this kind of thing by hand.  And it gets to be sparkly.  And aggressively neon.  Woo!


I FINALLY GOT NAIL FOILS TO WORK AHHHH

Nail foils are so amazing in theory.  Super shiny, super holo and really quick to do.  However, as soon as you move or apply top coat, they die.  Thus, the eternal quest to find a top coat that doesn't ruin the finish of the foils.  I FOUND IT.  Sally Hansen Miracle Gel top coat DOESN'T KILL FOILS.  To prove it, I thought I'd have a go at doing nail foil stripes and it turned out awesome except for where I kept trying to cover up the gaps.  SHINNIEEEESSSSSS!  Oh and of course I need charms

To start I applied three coats of the amazing neon coral China Glaze Thistle Do Nicely.  I have no idea where this came from but it's so bright and neon.  In person it's ten times brighter cos neon are impossible to photograph.  Anyway.  Once the three coats + Seche Vite had dried, I applied striping tape to do my foil stripes.  I applied the glue over the tape and then peeled the tape off before the glue dried.  Once it was clear, I applied my gold holo foil over the top.  My mistake here was to try to fill in the gaps cos it just lost some of the definition but still, it's shiny.  Two coats of the Sally Hansen top coat and some bow charms and I'm good to go.  


The Verdict: Well I think my foil obsession is a thing now so brace yourselves.  It's just so shiny!  I love shiny.....

Bow charms from The Sparkly Shop for $1.99 a pair!

SHINY BLUE AND TRIANGLES IS PLEASING

TRIANGLES.  TRIANGLES.  THEY ARE AMAZING.  Also, still surprisingly pleased with the Sally Hansen Miracle Gel polishes.  SHINY.  TRIANGLES.  BAM.

I love this blue so much.  It's so blue.  I applied Miracle Gel Tidal Wave as the thing says - two coats of colour and one of top coat.  I then just went to usual town with my glitter placement.  Swipe of top coat, put on the glitter.  When you're working with negative space like this, you just have to wing it.  Place two pieces in line, put a piece on top touching the points, repeat!  Or don't.  Whatever.  TRIANGLES DON'T CARE WOOO.


The Verdict:  I LOVE TRIANGLES THEY'RE THE BEST THE END.  ALSO THIS BLUE IS AWESOME TOO THE END OF THE SEQUEL.

Glitter is available from The Sparkly Shop, from $6.99 a set!

XXX