Showing posts with label Sally Hansen. Show all posts

Saturday, January 17, 2015

Matching a Mani to the Sparkliest Bag I've Ever Owned

While travelling in New York over Christmas, I kept an eye for...something.  Something unique, something you don't see often, something that stood out.  While wandering around Brooklyn, I found the thing that I was looking for.  It may not be practical but oh man, is it sparkly.  Covered in a perfect gold-red-fuchsia-pale pink gradient of flat sequins, this bag had to be mine.  When I got it home, I of course had to honour it with a glitter gradient of my own.

I wanted to bring in the silver reverse side to all the sequins so I started this mani with two coats of Sally Hansen Celeb City.  I'm not really sure why now as I've tried to put glitter on this before and it never quite looks right.  Anyway, on I went with my usual technique, using Sally Hansen Invisible in very thin layers to stick the glitter on.  Again, I've had luck lately in first laying a strip of glitter down the centre of my nail then building out either side.  Once done, I added two coats of Seche Vite.  I was then silly enough to take a shower before taking photos so that's why the tip of my ring finger's a little mangled.  Once I fixed it, using my glitter fixing process, it didn't look too bad.  So much fun taking photos with this bag though.


The Verdict: Love the bag, would love the mani more if the pink didn't bleed quite so much.  Yay for sparkles for everyone!

Rainbow Glitter Zig-zags, Take 2

One of my more popular posts were the rainbow glitter zig-zag nails I did a few months ago.  It's good, but every time I look at it, all I can see is how uneven some of the glitter is.  It was annoying me so I decided to recreate it, BUT THIS TIME BETTER.

Although it doesn't make much of a different, I started this manicure with two coats of Sally Hansen Navy Baby instead of my usual black.  Gotta mix it up sometimes, you know? Then, starting with my thumb, I added the glitter using my usual process.  Unlike my original version, I did four pieces of glitter before changing directions, made it a lot neater.  After my thumb and ring finger I was starting to go a little cross-eyed so I spaced the glitter out a bit for my remaining fingers.  I like it though, makes the two accent nails stand out more.  It's fun to see the different patterns contrast against each other.  Anyway, if you're wanting to do this, make sure you have the glitter rotated so there's a pointy bit at the top, not a flat bit.  Makes for good zig-zags.  Man, so sleepy today, forgive me if this isn't a 100% sense-making. 


The Verdict:  Ahh, nice, even rainbow zig-zags at last.  I also got to feature one of my many giant rings.  I had a thing a while back for giant rings - I even created the subreddit /r/largerings - and it's good to hold something other than a polish bottle from time to time.  Yay sparklies!

Review: OPI Liquid Sand Get Your Number

So I know every lady and her nails have reviewed the Liquid Sand OPI polishes but who would I be if I didn't jump on that bandwagon too?  There's no way I could pass up a matte sandy glitter!  It's just too out there.  Anway, let's take a look at the blue polish in the collection, Get Your Number.

Get Your Number is totally unique in my collection.  I don't say that lightly, I have a ton of nail polish.  It may not look like anything earth-shattering in the bottle - a medium blue thin jelly with holo and iridescent glitter - but it really does dry like sand.  It's a little too sheer for me to be comfortable wearing it on its own so I layered two coats of Sally Hansen Navy Baby on there first.  I then added the one coat of Get Your Number and look how interesting it looks!  I added a coat of Seche Vite to my ring finger to contrast the finish differences.  I have to say that I'm not the most fond of the rough finish but it's ok, I'll deal.  


The Verdict:  Get this polish, even for the unique factor.  Yes, it feels a lot kind sandpaper and needed underwear but LOOK at that macro shot.  If you've ever seen anything like that before, good, cos I haven't :)

On Bribing Artist Friends with Brunch to Get Them to Do Art

Oh, it's fun to bribe your artist friends with french toast so they'll do art on your nails that you can then blog about!  I have a wonderful friend Erica who comes round to our place most Wednesdays and I just had to get her to paint me a teenie-tiny rocket with a space cat.  I have a cat called Rocket and if I ever get around to making my own line of glitter polishes, for sure it'll be called Rocket Polish.  With a cat in a rocket for a logo.  So that had to be the nail art I requested!  She's an excellent artist, you should go look at her work :D

I needed a nice spacey deep blue so I started off with two coats of Sally Hansen Navy Baby.  Erica then painted the rocket ship, rocket cat and other spacey things with acrylic paints.  I managed to top it off with a coat of Seche Vite without smudging the design, so I'm happy.  Look, space!


The Verdict:  Of course I love this.  There's a space kitty in space, it's perfect.  I might try brewing a little less coffee next time, but that's all part of the fun :)

Sparkly Stepping Stones Nails!

I've been super into Tumblr lately and I've been seeing some people do fabulous things with a glittery base and solid patterns atop it.  I just had to try it out myself after seeing what Whitney at Dressed Up Nails and Stephanie at Sincerely Stephanie have done recently.  By the way, I kinda hate you Whitney, you're just too good and it makes me incredibly jealous! 

I loved the idea of using Color Club glitter polishes from Christmas last year so I started off with two coats of Sugarplum Fairy and then just painted half my nail with Beyond the Mistletoe.  Both are completely awesome and sparkly micro holo glitter, the former slightly purple-toned, the latter slightly green.  I wish I could do the glitter justice, it just doesn't come off in photos! Once dry, I dotted on Wet'n'Wild On A Trip, Sally Hansen Pacific Blue, Nina Ultra Pro Blu Blaze and Nicole by OPI "Baby" Blue.  So many polishes!  But look, sparkly!


The Verdict: Love how the sparkly mixes with the creme polishes, almost like stepping stones on a river of glitter.  That's for me, that's for sure.  Fits with the gradients I've been obsessed with lately too.  Yay sparkly!  Man, I finish a lot of posts like that.  But I like glitter.  So yay!

Overlaid Red, Black and White Gradient Nails!

Ever since I did this mani recently I've been wanting to do a better version.  The colours seemed like they would work together but it just didn't turn out how I wanted.  I wanted to try again and decided to learn from my original mistakes.  For example, make sure you use a super opaque creme polish on your top layer, don't bother with horizontal stripes and using thicker lines looks cool too.


To start, I applied three coats of Rimmel Stiletto Red.  Once it was dry, I used a makeup sponge, painting three quarters of a nail's worth in Sally Hansen Pat on the Black (ironically really a dark maroon) and a thin strip of Stiletto Red to help it blend in.  After letting it and the coat of Seche Vite dry completely, I cut thin strips of masking tape and layered on OPI My Boyfriend Scales Walls and Rimmel Black Satin.  I found Black Satin a little sheer so I ended up blobbing on the black first with the brush then gradient-ing over the top.  Another coat of Seche Vite and it's done.


 The Verdict: I'm happy with how the gradients came up but I think I'm still on the fence about how the end result looks.  It reminds me of something I can't quite put my finger on.  It certainly is eye-catching though, so I guess that's a good sign?  I don't know, I think I'm going to try one more time, maybe with striping tape, see what super thin stripes look like.  Yeah.


Ruffle Nails!

So, things have been a bit quiet around these here parts, it's ok, I've just been going through the process of getting a new contracting job, incorporating myself and all the endless paperwork that that entails.  Given I had a three week lead time before starting, I decided to peace out and go to Cuba for a week!  It's so beautiful there I can't even words.  I mean, this is where I was all week.  This was the walkway leading down to the beach:  


That's not a stock photo, I just held my phone up and that's what happened.  So I've been warm for a whole week.  

But you aren't here for the Cuba photos, you're here for the nails!  I wanted something bright and colourful before I left and since I haven't done ruffle nails in a while, I think it's time!


To start, I applied two coats of OPI My Boyfriend Scales Walls.  It's a really good white base colour.  Next I started at the bottom near the cuticle and just brushed on Urban Outfitters Blue Jeans.  I then pulled out my most opaque cremes and my larger dotting tool and applied a row of dots at a time.  Just make sure you place the dots as far apart as you can, helps make it look extra ruffley.  In order from the bottom up starting with Blue Jeans, the colours are Urban Outfitter (UA) Rodeo Sweetheart, UA Flip Flop, Sally Hansen Celeb City, UA Westside, UA Mojave, UA Bandeau, UA Smush and Revlon Gold Coin.  In case you can't tell I've been on something of a UA kick lately.  They just have really nice colours for $4 each.


The Verdict:  Love Cuba, love ruffles.  I know that most of you are American and can't go but wow, it's so gorgeous and peaceful.  White sand, 25 degrees and sunny, turquoise water, so awesome.  I'mma post more too... :D

Friday, January 16, 2015

Checkered Fancy French Nails and Not a Rainbow in Sight!

I love glitter, blah, blah, I think you get the picture by now.  HOWEVER, you haven't seen me to do a checkered pattern with matte square glitter now have you? HUH??? Yeah, that's what I thought.  It's that kind of day.  Not even a sparkle or rainbow in sight, too!  Cos that's a good segue.

I knew I wanted to do checkers with this matte square glitter I ordered off Impulse Co on Etsy, the trick was trying to find someway of incorporating it without me having to spend a year doing it full coverage on all my nails.  The obvious choice with black squares is white but I wanted to do a bit of twist, with a slight gradient on my tips.  To do this, I started with two coats of OPI My Boyfriend Scales Walls, then sponged on said white, Sally Hansen Wet Cement and Grey Area on the top third of my nails.  Once dry, I used my usual technique to apply the glitter.  I started by centering a piece right at the end of my nail, then made a diagonal row out to the sides, lining the glitter up corner to corner.  I then just filled in the gaps.   


The Verdict: I'm kinda proud of my for not only getting my square glitter to line up nicely, but that I did so without using a single rainbow or sparklie.  I'd say that I'm growing up but that's not true and I kinda wanna do this again but over a neon rainbow...mmmm sparkly rainbows.  This cool too though :D

Review: Sally Hansen Gel Nail Strips in Perfect Poison

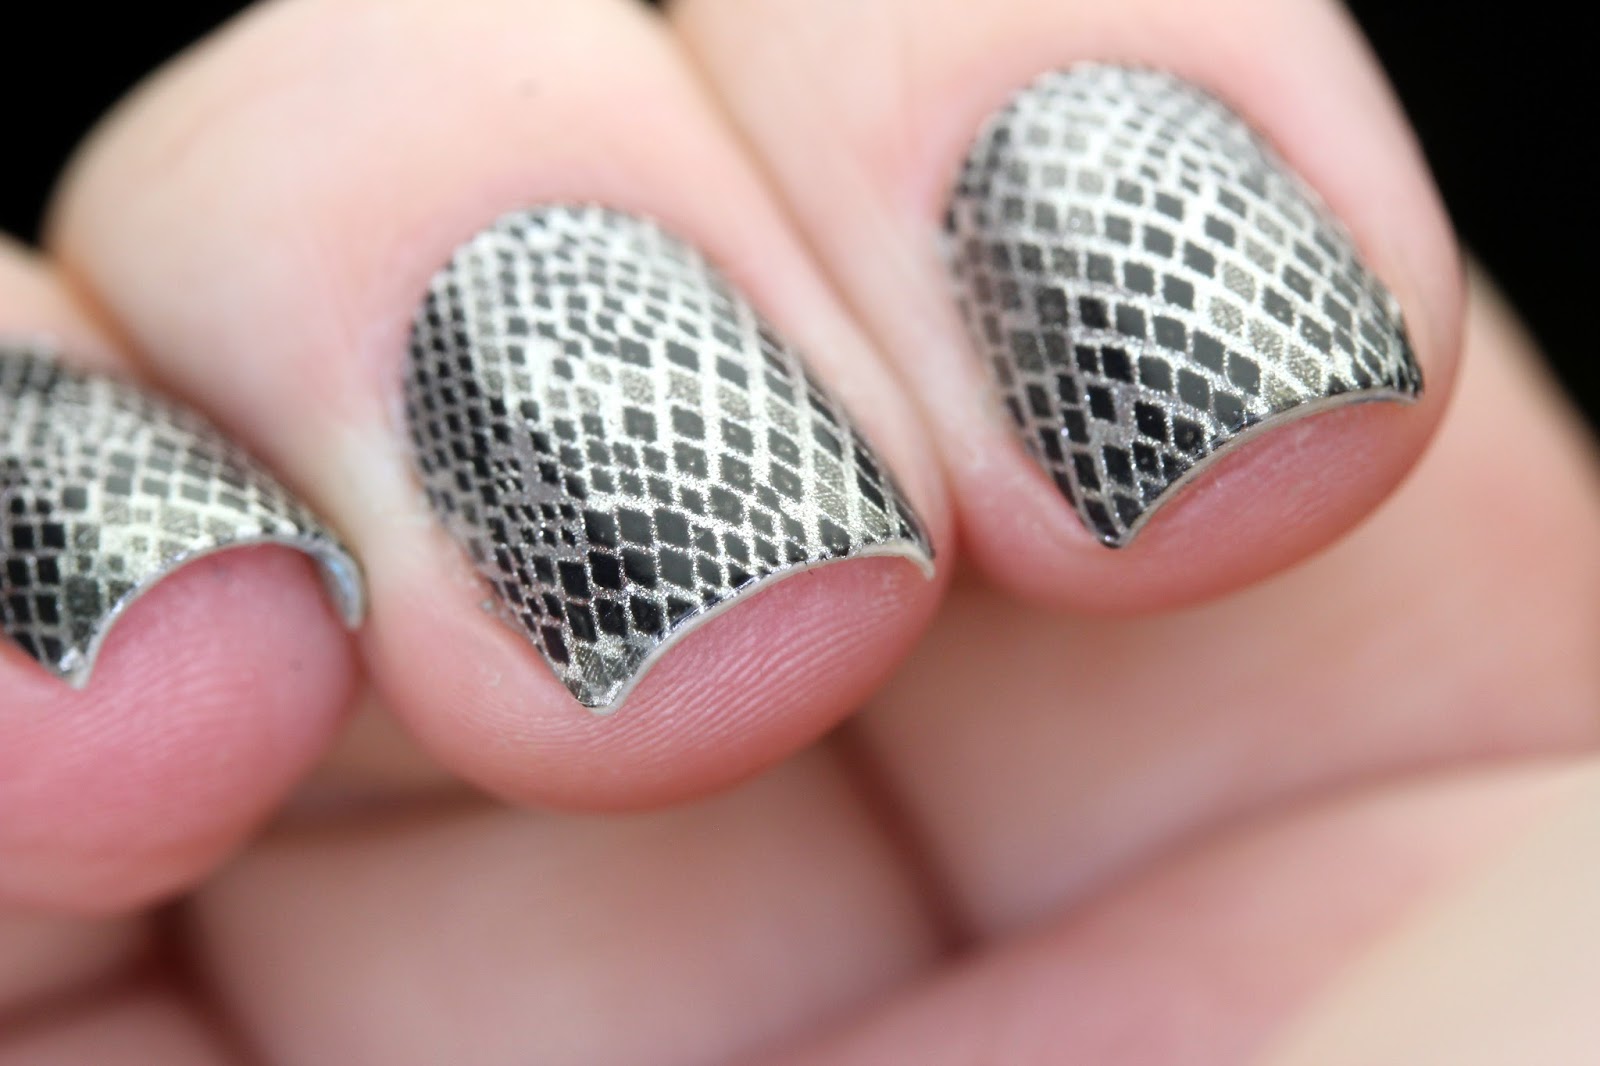
When I get paid, I find it extraordinarily hard not to just blow money on toys.  Preferably nail toys.  Because that way I can justify it as being for my blog!  Anyway, I've been looking at the Sally Hansen Gel Nail Strips for a while now and when there were on sale at Shoppers the other day, I couldn't resist.  Full disclosure: I tried these around Christmas just gone and they didn't even last a full day.  I had a feeling I did it wrong - I was in a hotel room without all my supplies - so I thought I'd give it another chance, with some fancier nail polish strips, this time in Perfect Poison.  I'm actually going to do this: there's a twist to these pictures...


I had a hunch that my problems last time were a combination of not cleaning my nails well enough before I applied the strips, and that I didn't apply the gel top coat properly.  This time, I followed the instructions, using acetone to remove my previous polish, then the alcohol wipes to remove every bit of residue, ick, whatever.  I think this is the most important step.  Next, I chose each strip to match each nail and applied them, as I would normally with the Sally Hansen Strips.  I paid close attention to rubbing each strip with my finger, heating it up a bit with friction and making sure there were no gaps, no bubbles (heheheh nearly typed buttles.  Butts, hehheheh), and making sure that each edge was folded down and slowly filed off.  This is not a fast process, it's best not to rush.  I then applied the gel top coat to one finger at a time, making sure I wrapped each tip, and covered the edges of the strips in gel without flooding my cuticles.  One go under the lamp for each nail, and another quick wipe off with a wipe and I was done.


The Verdict:  You may be wondering what the twist is here.  Well, the twist is that I applied these Friday night and these photos were taken Sunday night.  I am extremely rough on my nails and I did dishes, cleaned, went about my life being rough on my nails and nothing happened to the strips.  No chips, no wear, nothing.  I only took it off because I wanted something else, no other reason.  I can fully see these lasting, like, a week, and that never happens.  I would completely recommend these, especially if you're rough on your nails and are prepared to just be careful with your application.  I've tried gel polish before and it's a pain because it goes everywhere and then is impossible to clean but look how good these look!

Yay!

Thursday, January 15, 2015

The Electric Mermaid Strikes Back!

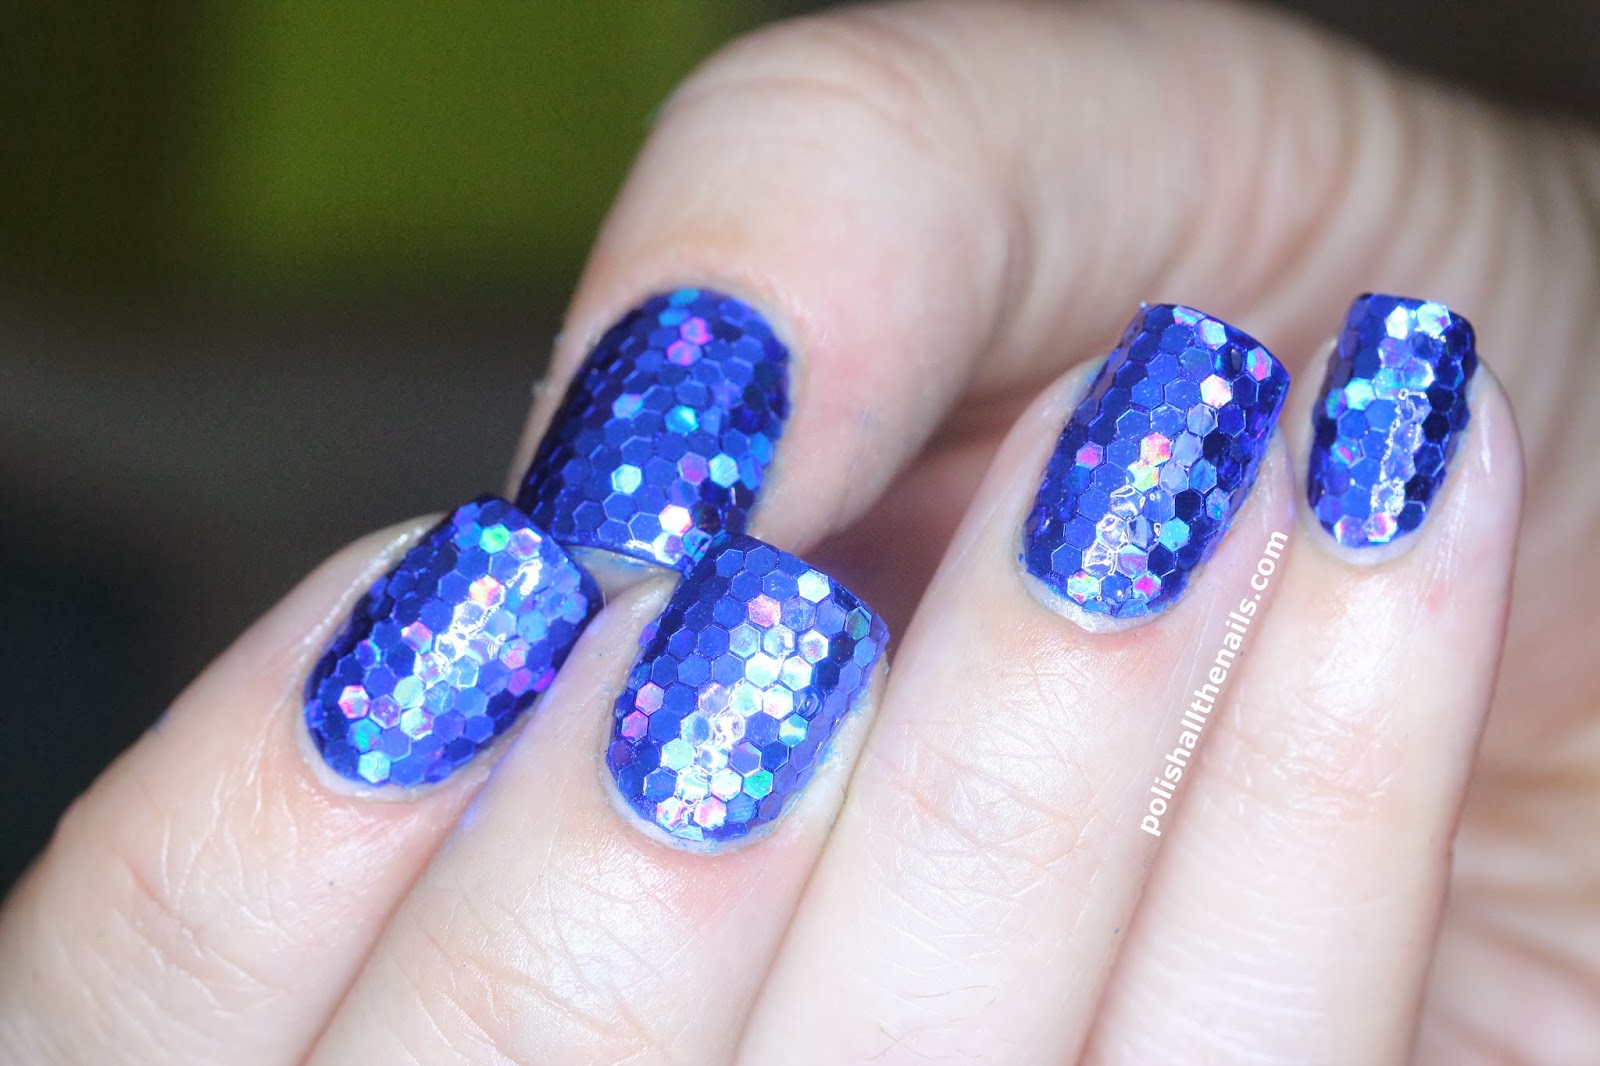
Hi, not dead, just busy with Halloween party that was totally awesome, and then my computer making burning smells.  Still not sure what's doing that.... Anyway, I have something unprecedented to show you today - a third version of the same mani!  This one is particularly special to me as it was my first post to really take off and is still my second highest viewed post of all time.  I'm talking about my Electric Mermaid Nails, and Electric Mermaid Nails 2: The Mermaidening.  Let's take a look at the Electric Mermaid Strikes Back, shall we? 

Nothing here has really changed - I'm doing the same three coats of Sally Hansen Co-bolt Blue for the base and the same cobalt blue holo glitter for the mosaic.  It's just a matter of starting in the middle at the cuticle and building a straight column which sets the spacing for the rest of the nail.  The best thing about having a base colour so close to the glitter colour is that you don't need to cut pieces to fit around the edges.  A couple coats of Seche Vite and you're done.  Keep in mind that with the glitter placed so close together, your top coat might go a bit...funny.  Hard to describe how but yeah.  If you space them out just a little, you'll get a smoother finish but not as much glitter so it's a bit of a trade-off. 


The Verdict:  I tried something different with my lighting, what do you think?  Turns out that turning off my lightbox and just using the ring flash gets this really stark kind of lighting.  It makes my skin look a little weird but makes the glitter stand out nicely.  I love this glitter so much, it's nice to use it again.  Sparkly!


XXX